Acoustic Foam Treatment Guide
There’s no debate about the benefits of acoustic treatment in a home studio. But to get the most from your acoustic foam tiles and bass traps you will need to know where to place them.
We've written this handy guide to acoustic foam placement, to show you exactly where to put acoustic foam and how to install it. We're here to help you get the best from your equipment setup and maximum benefit from your acoustic treatment.
A quick word on soundproof foam (it's a myth!)
We often get asked about where to put soundproof foam, how to install soundproof foam etc. Sometimes it is just a case of the wrong terminology, sometimes it is a misunderstanding of what 'acoustic foam' is actually for.
Sound absorbing foam (the type used in acoustic foam tiles) is for reducing echo/reverberation and improving sound quality.
It won't stop sound leaking in or out of a room. That requires mass - normally in the form of additional plasterboard walls and ceilings. It is complex, expensive and beyond the scope of this page... so for the record there is unfortunately no such thing as 'soundproof foam'.
With that all being said, let's answer the question of where to place acoustic foam for improved audio quality in your studio.
5 Step Acoustic Foam Treatment Guide:
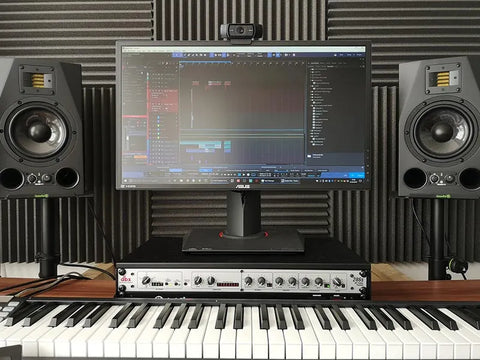
STEP 1: Your Monitors
Before you even think about acoustic foam installation, you need to consider how your room is organised as this will have a big effect on the accuracy of your monitoring.
Your monitors should be firing sound down the length of your room and they should be angled in to create an equilateral triangle (all 3 sides are the same length). Set them up so the tweeters are pointed directly at your ears and isolate them using Project MonPads. Sit yourself centrally between the left and right walls, but about 4/10ths of the room length from the wall you are facing. That way your monitors should be about the right distance from the wall and you will not be sat in the middle of the room (which is often a dead spot for bass). Don't worry too much about getting it perfect, you can tweak the position when all your acoustic treatment is in.


STEP 2: Reflection Points
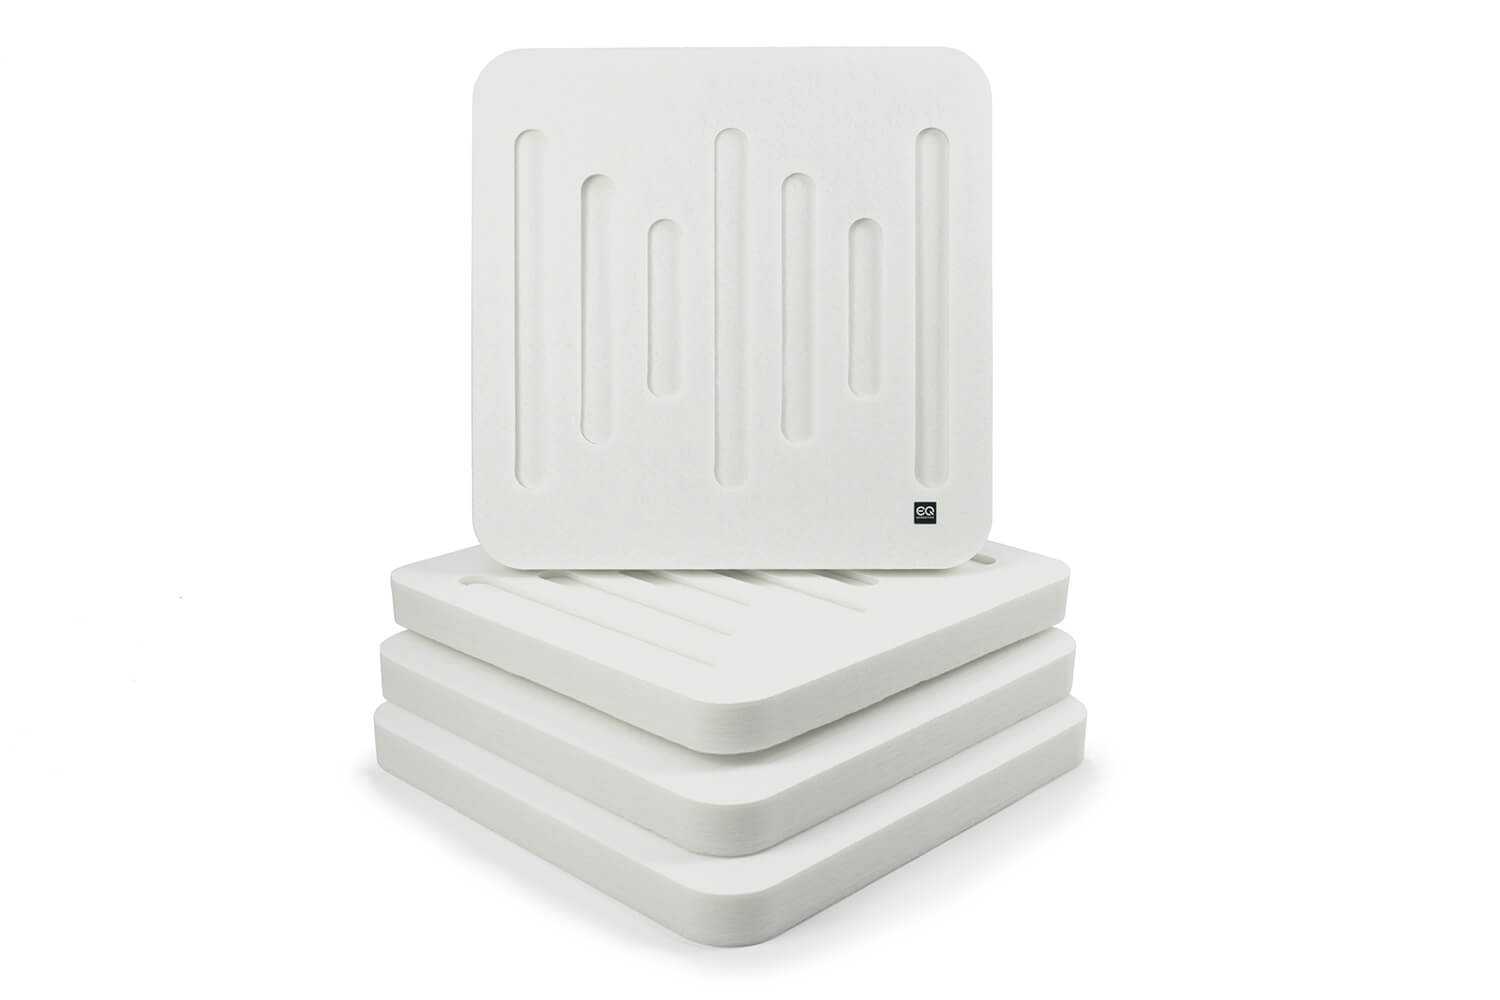
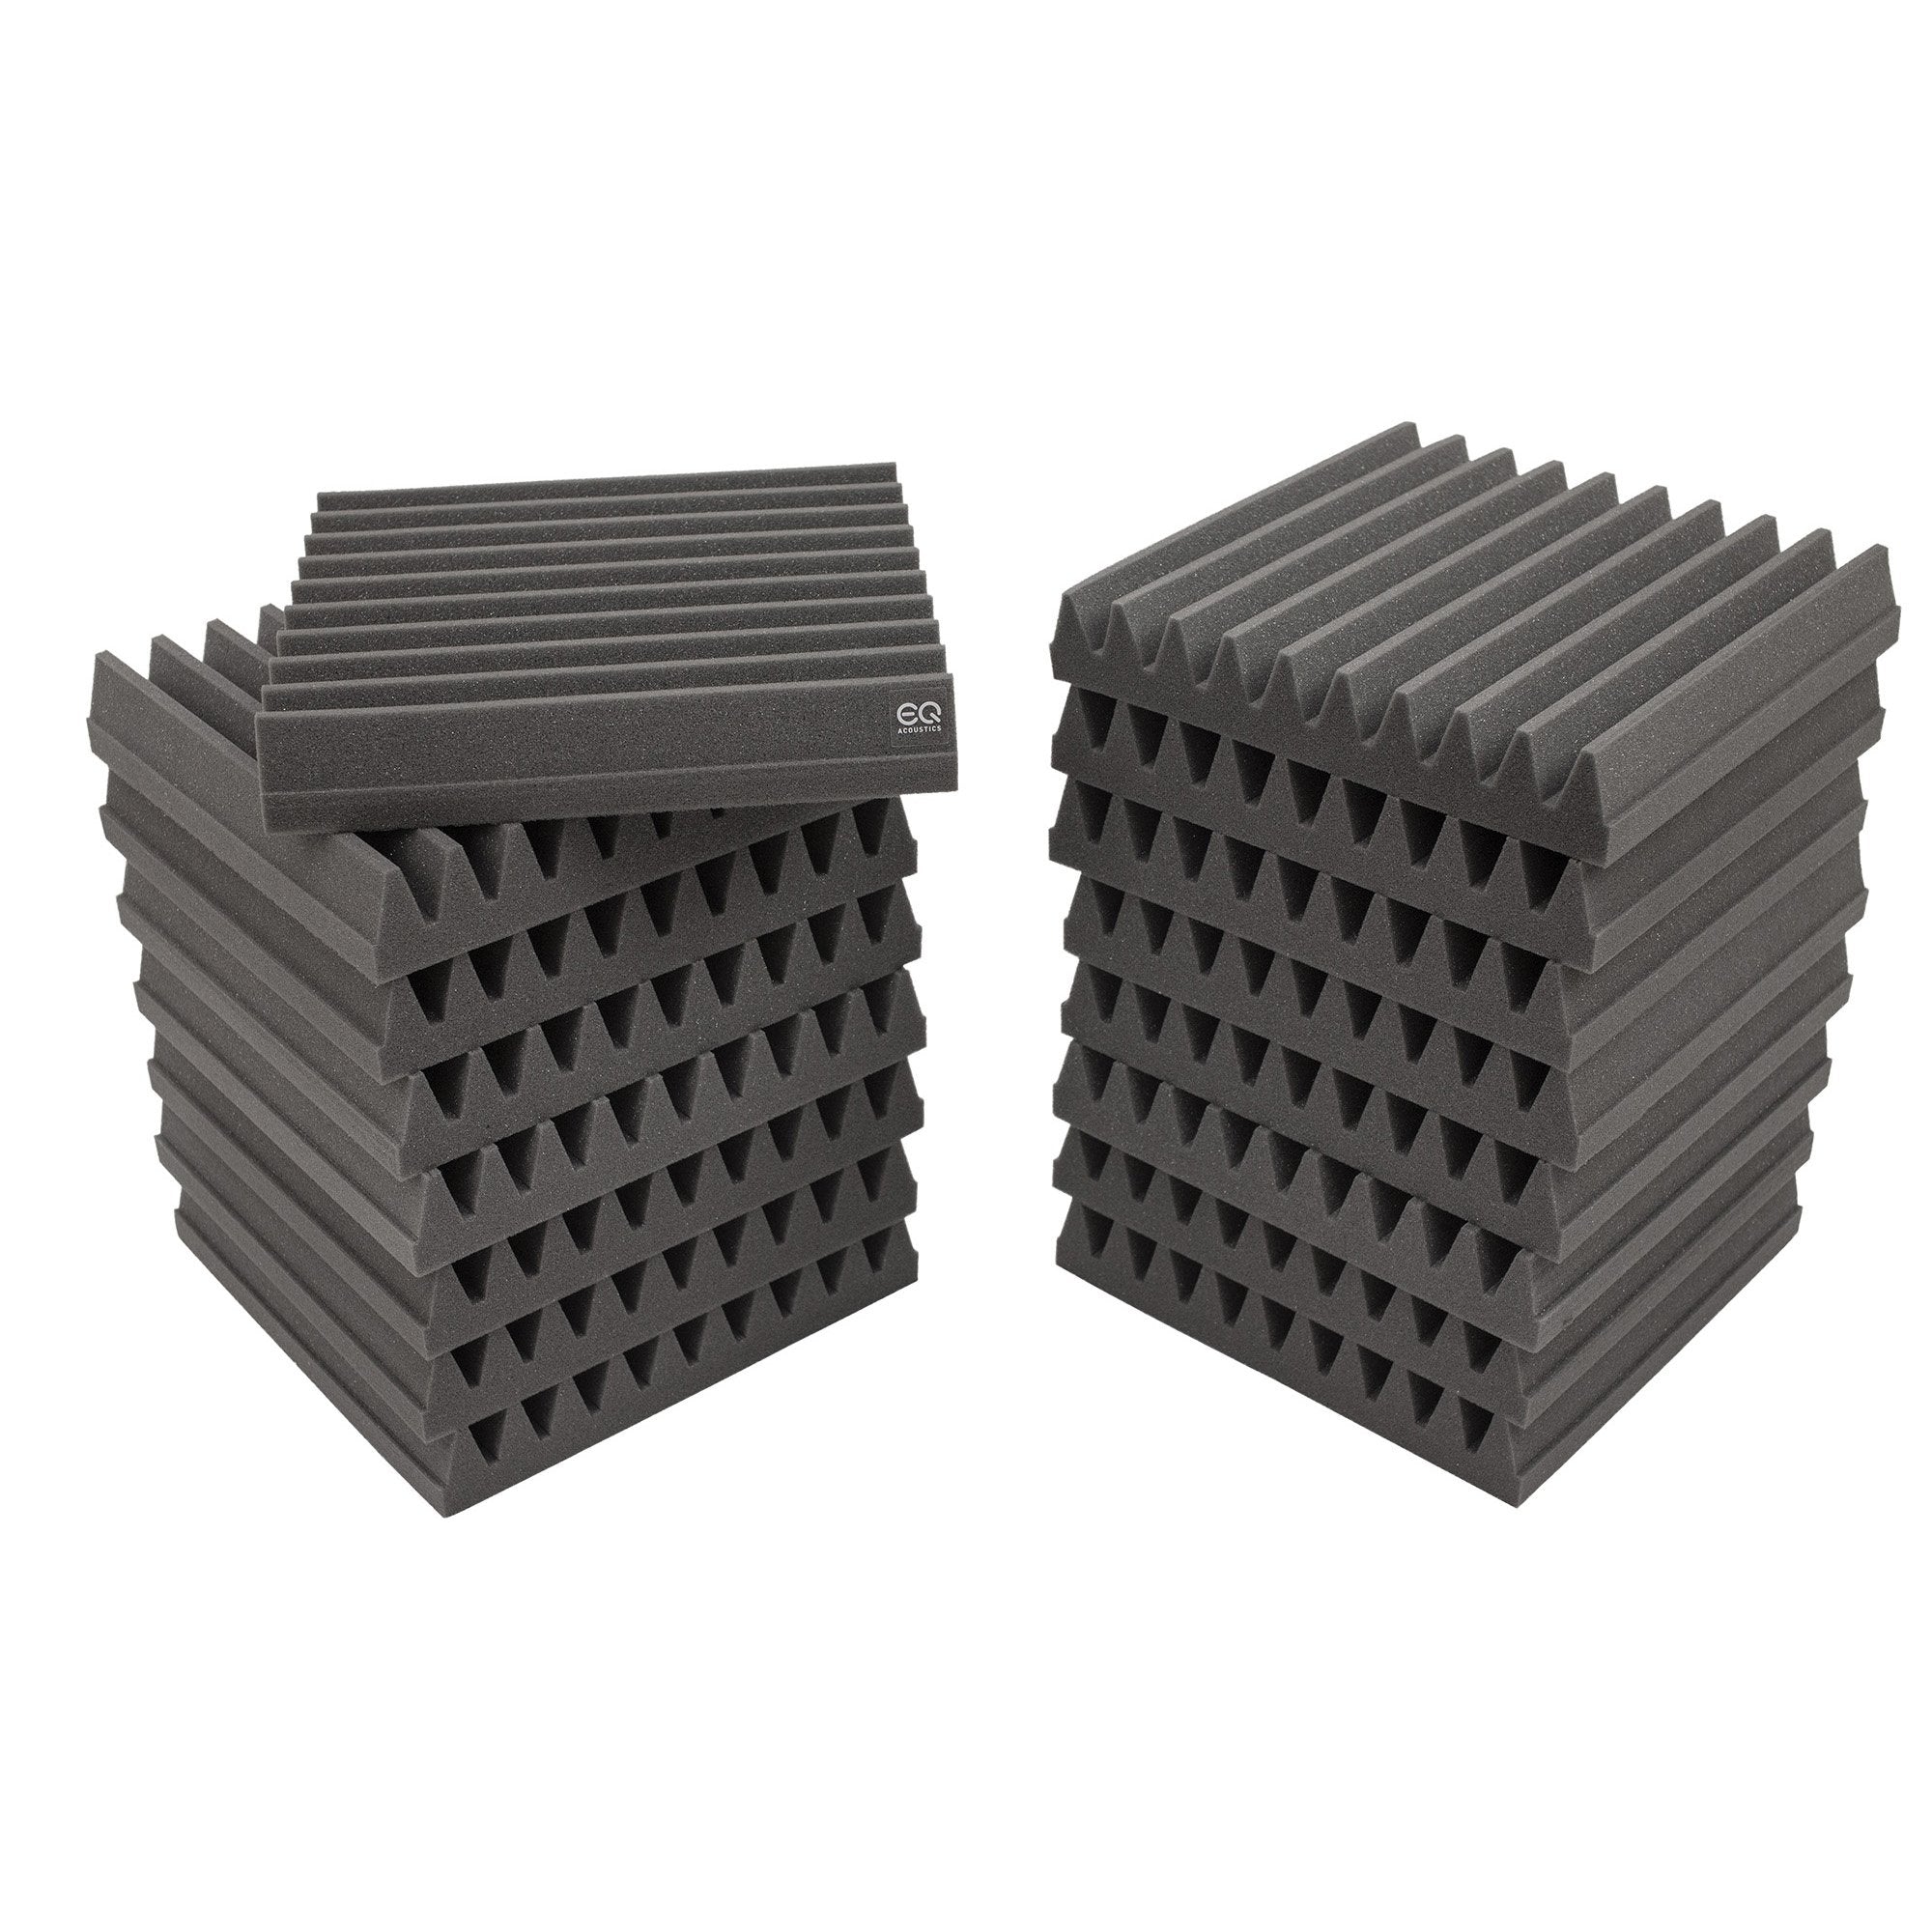
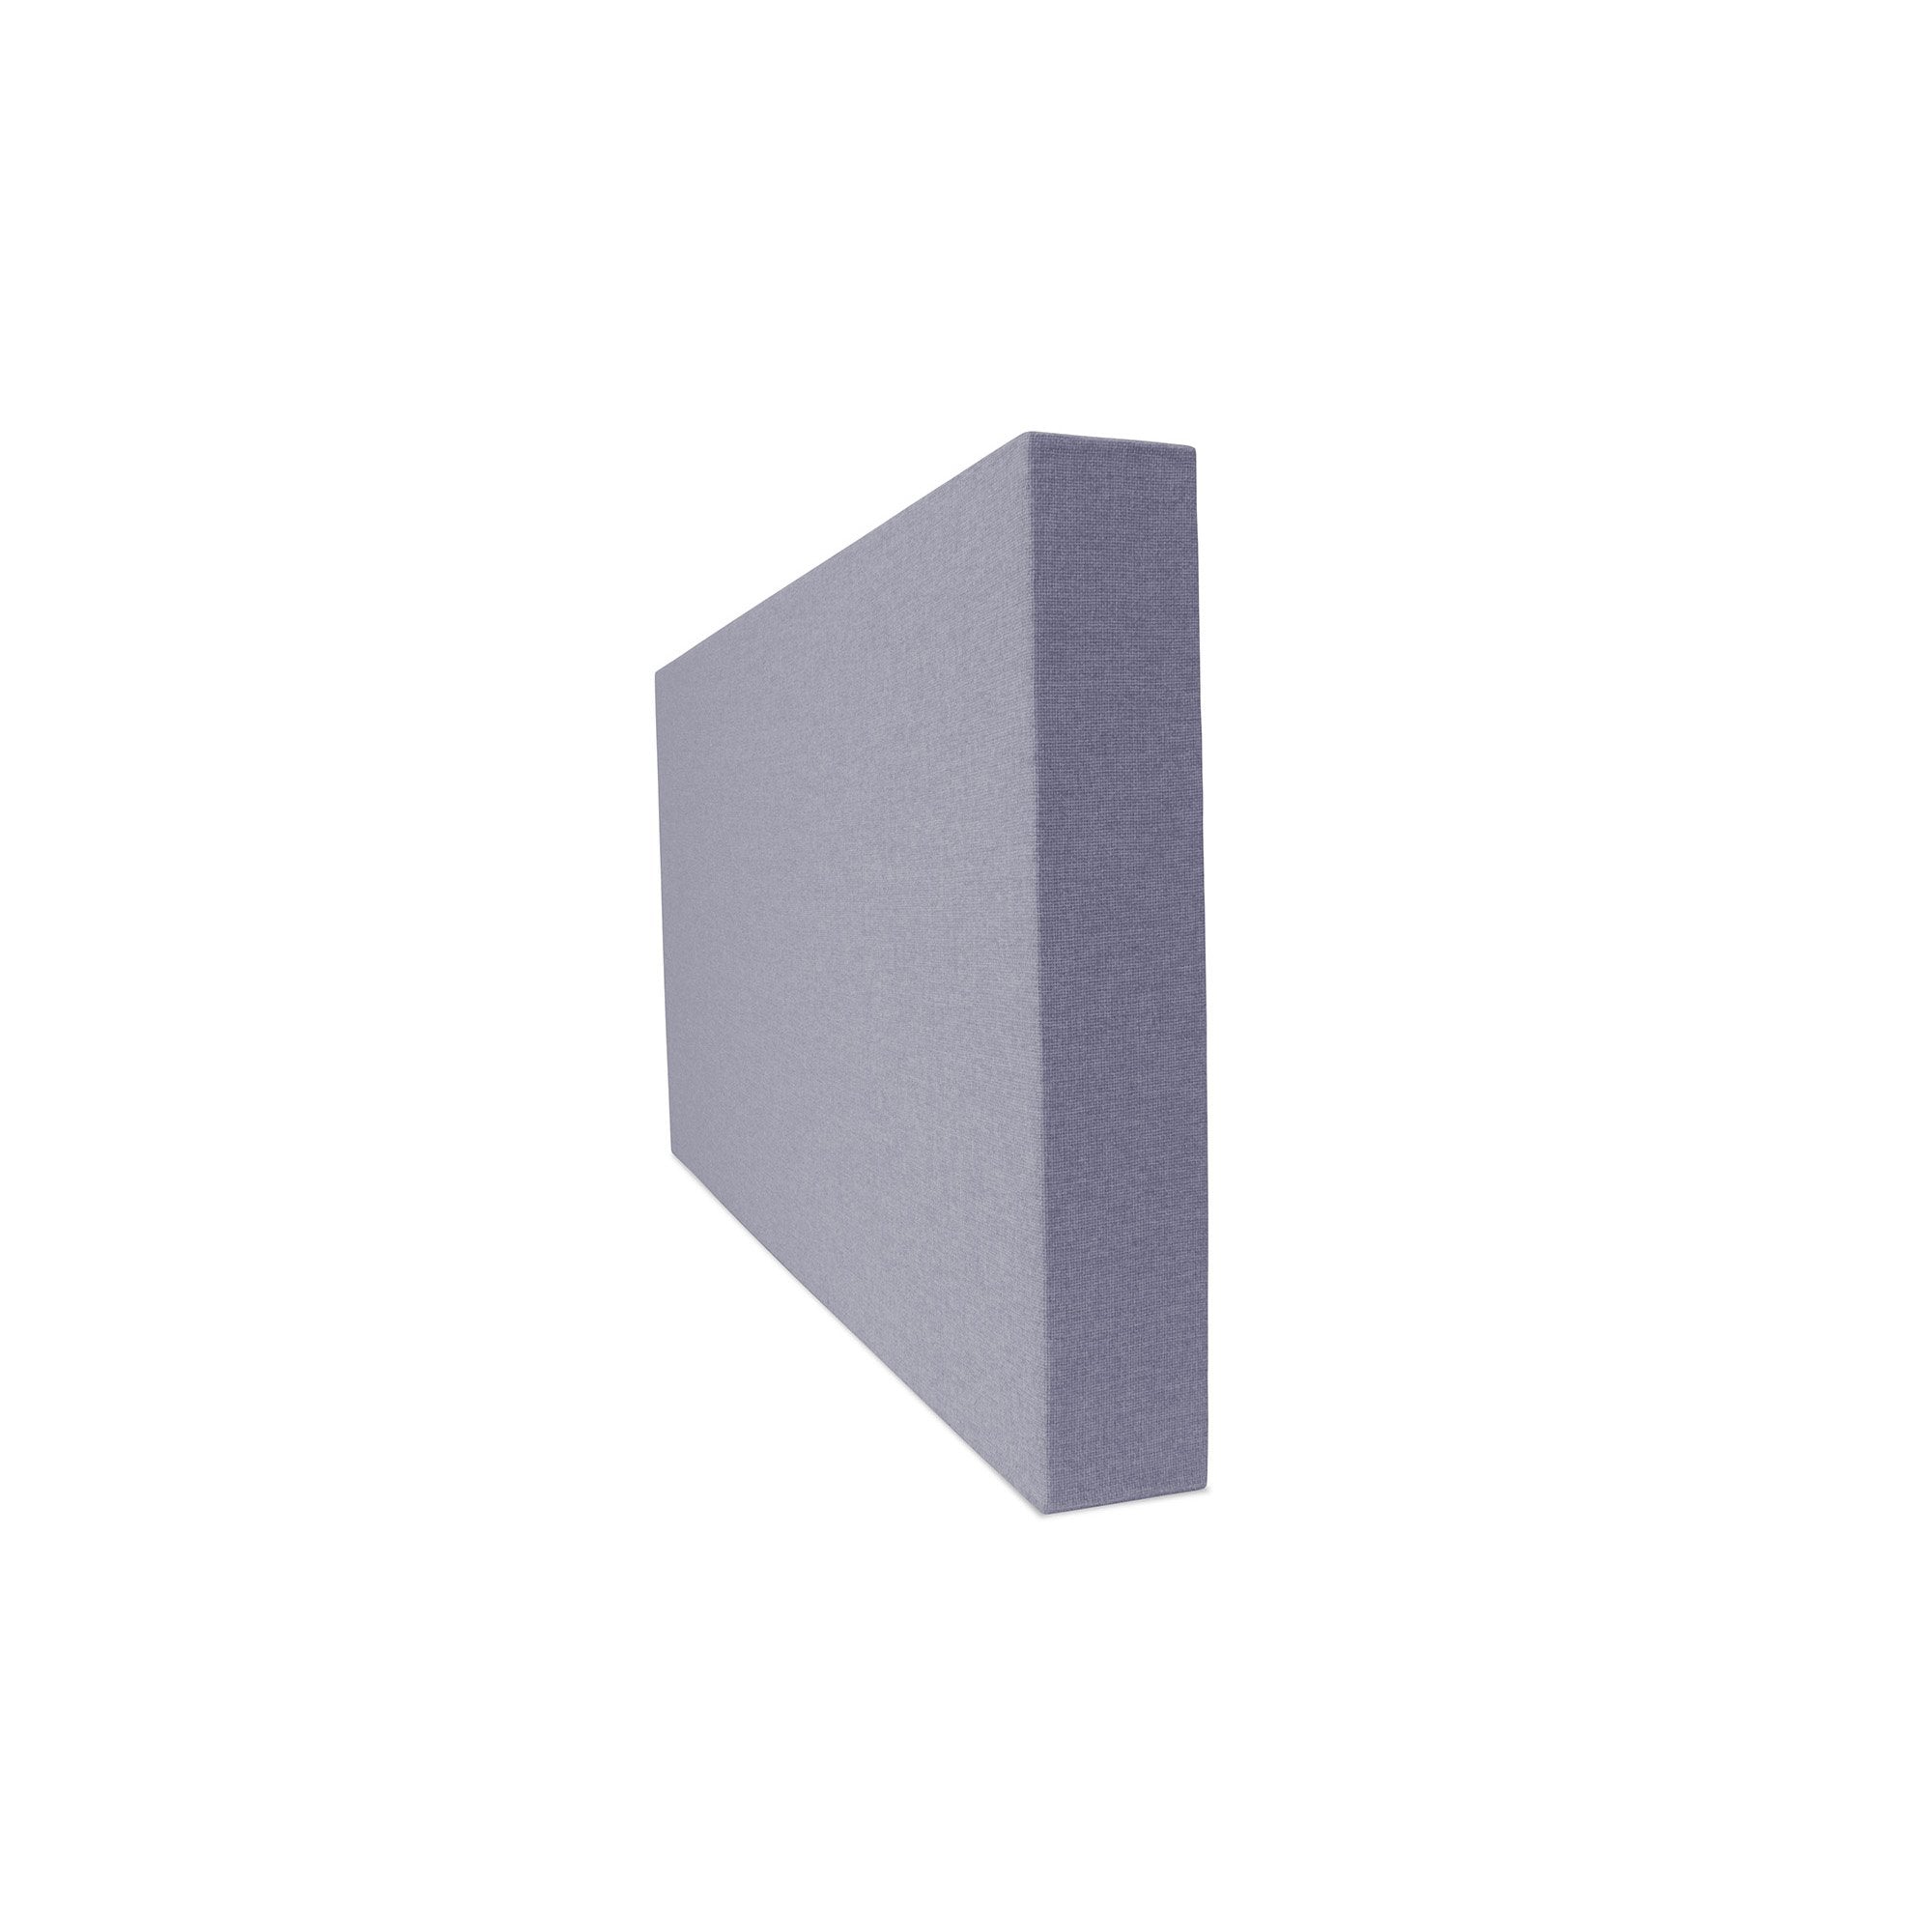
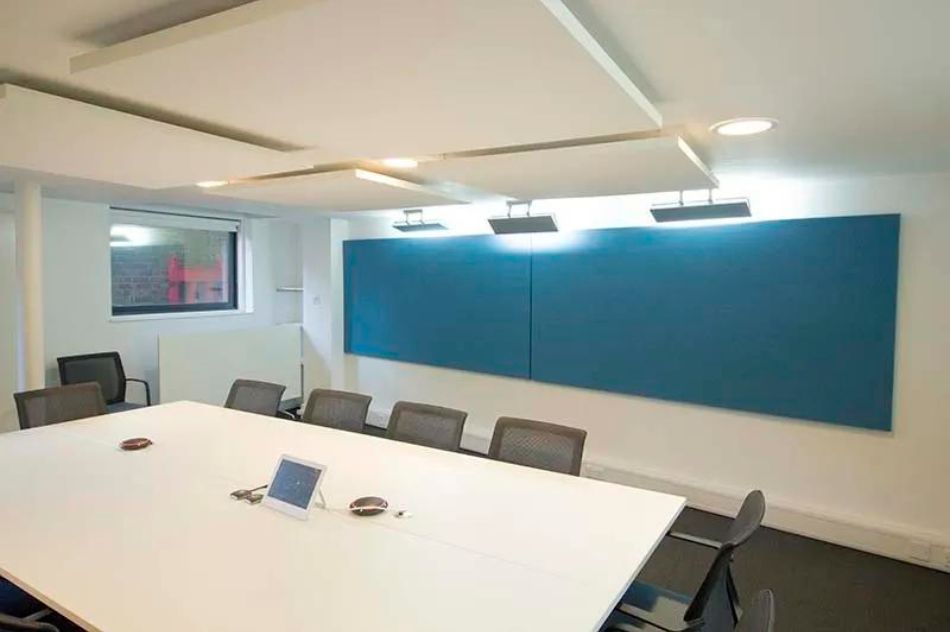
Now it's time to find your primary reflection points and place some Classic Wedge tiles or R5 Colour Acoustic Panels at each location.
(A.) Side walls – half way between your head and your monitors on each of the side walls
(B.) Ceiling – 4 or more large tiles half way between your head and your monitors on the ceiling
(C.) Front wall – behind your monitors, slightly towards the centre of the wall
(D.) Rear wall – behind you, you could copy setup on the front wall or go for a checkerboard effect. More on this in Step 4.
THE MIRROR TRICK
You can use a mirror to help you locate the primary reflection points in your room. Sit in your listening position and have a friend move a mirror across the wall and ceiling. Wherever you can see one of your speakers in the mirror is a primary reflection point.


STEP 3: CORNER TRAPS
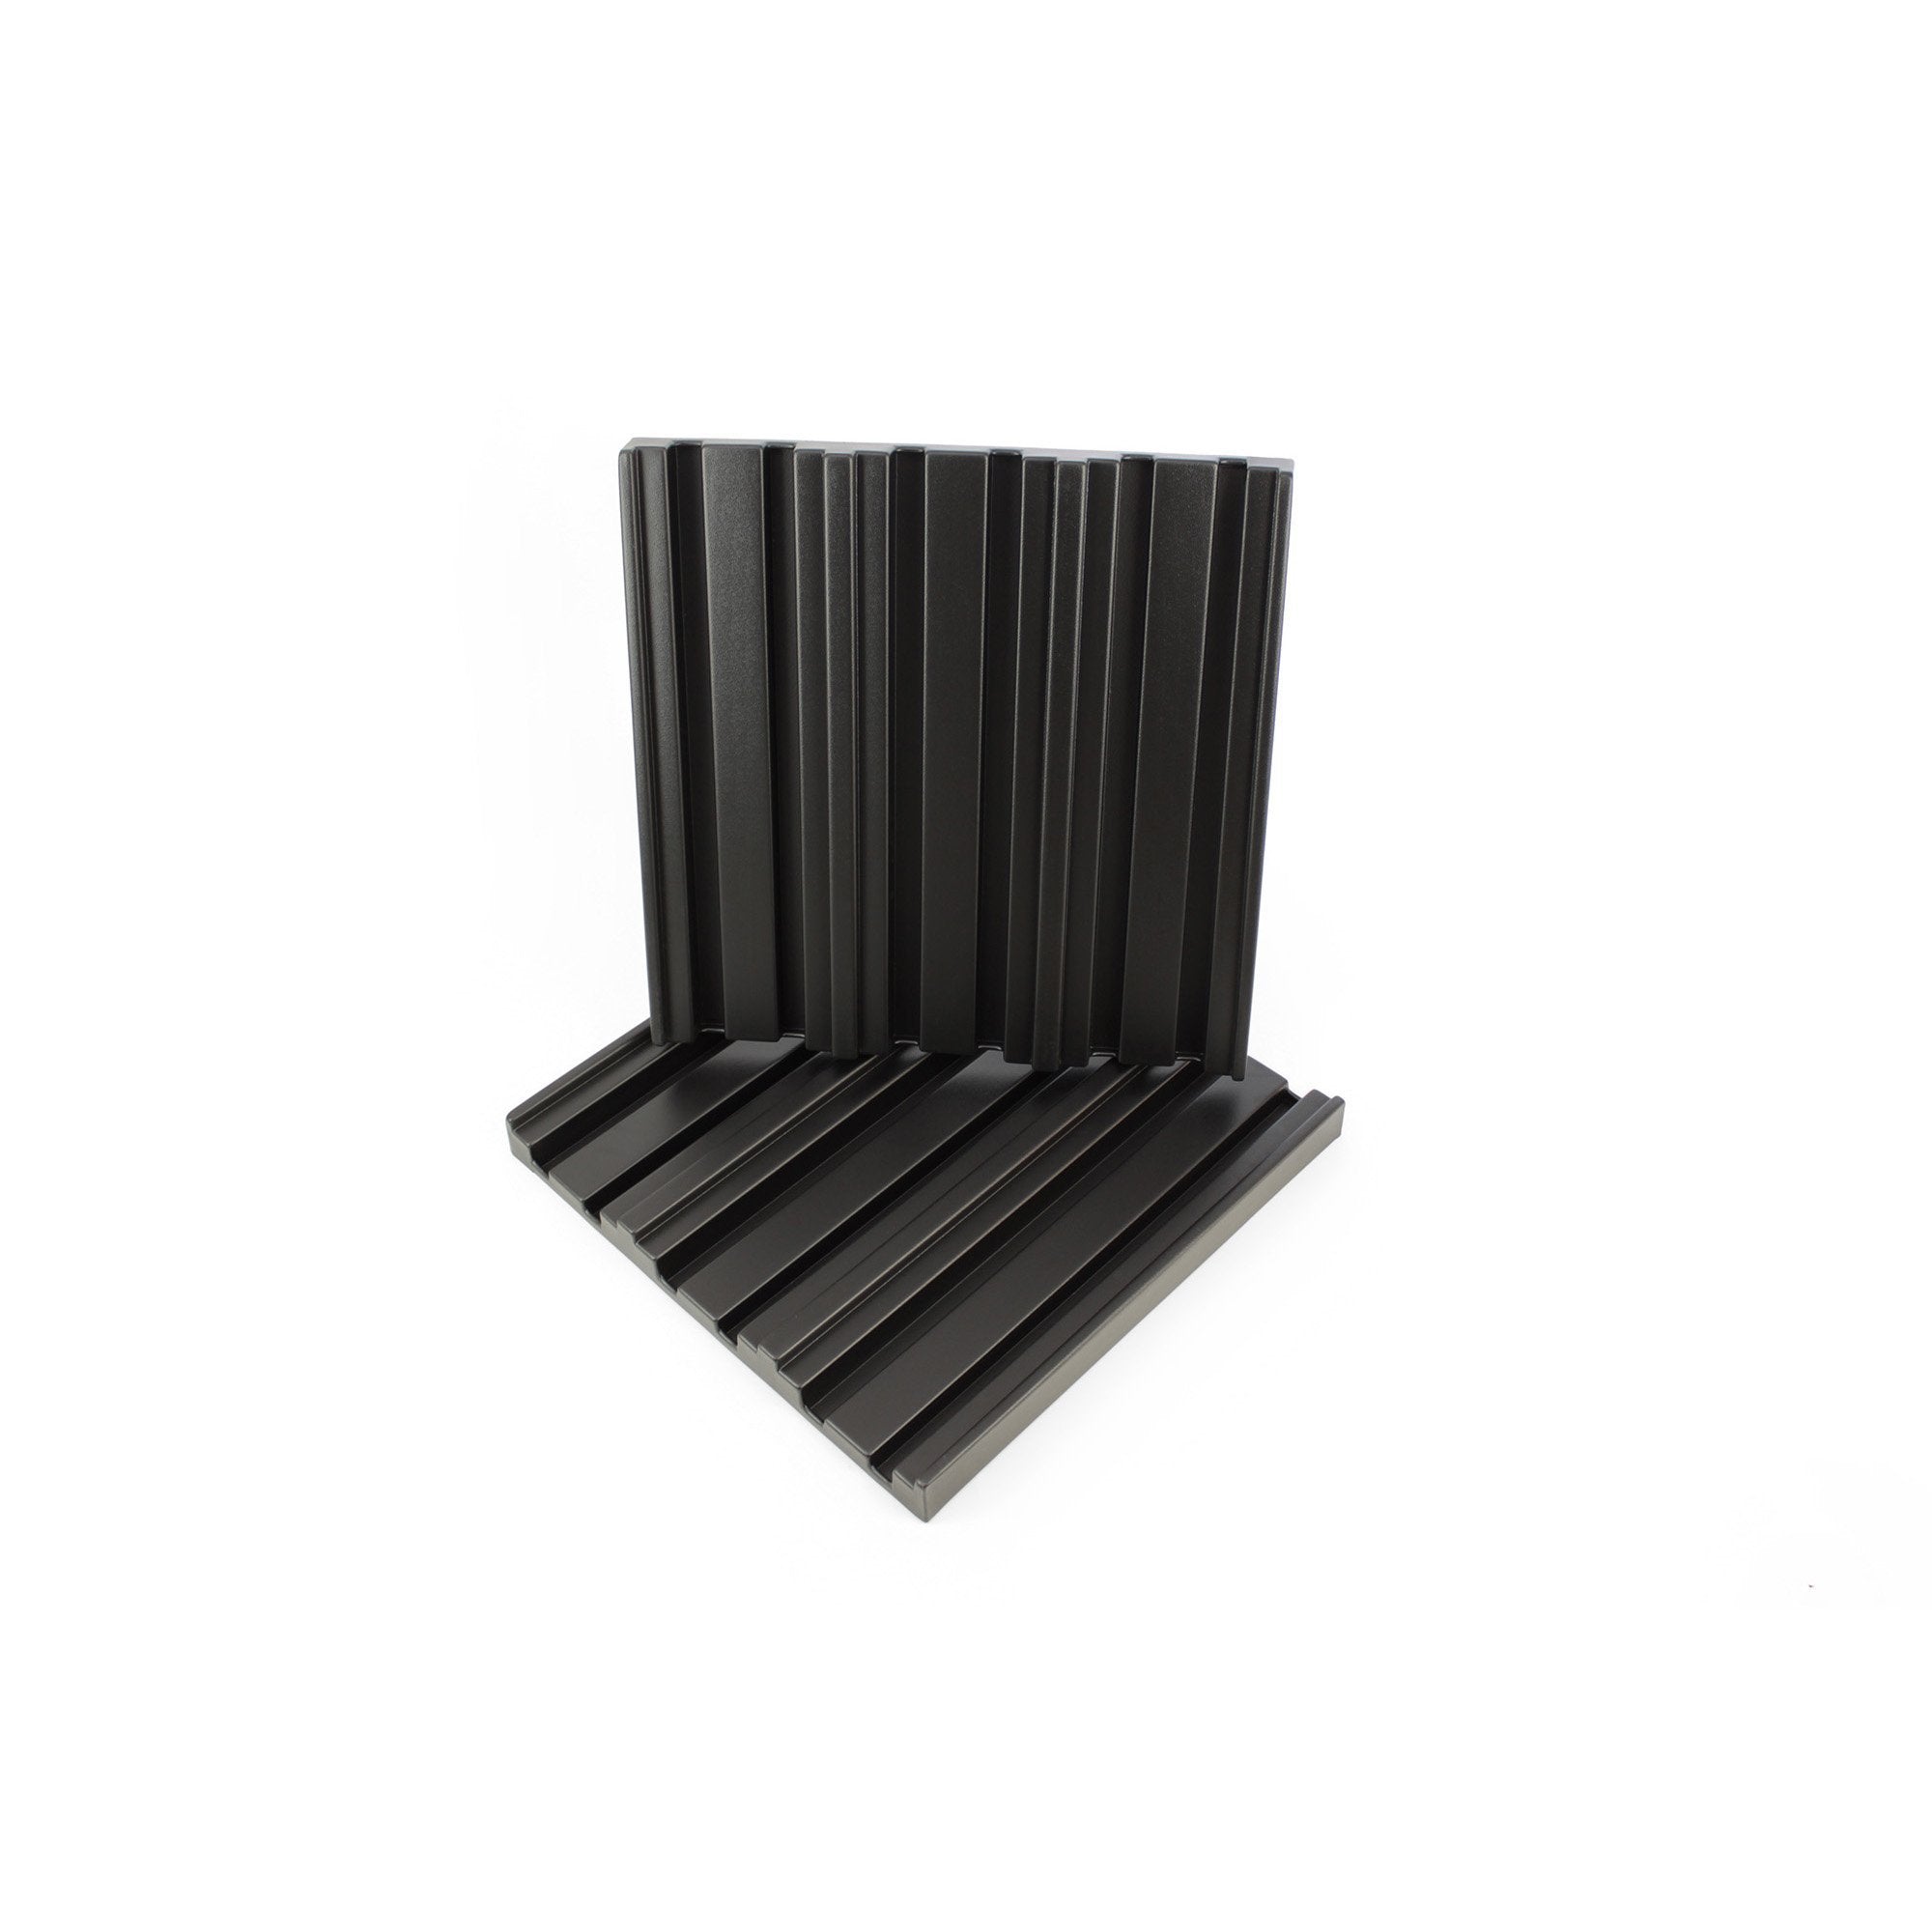
Add as many Corner Traps as you can to the vertical (E. Wall meets wall) and horizontal (F. Wall meets ceiling) corners of your room. You can place acoustic foam Corner Cubes in the top corners (G.) for added absorption and as a neat way of joining 3 foam Corner Traps together.
The vertical corners in front of you are a priority and you should also have an equal number of traps on the left and right.
If your budget allows, you can benefit from much tighter bass below 200Hz using Spectrum 2.0 Bass Traps which are larger and contain Friendly Fibre (100% polyester) instead of acoustic foam.
STEP 4: EXTRA TREATMENT
Once you’ve followed the previous steps, you'll find the reverb decay time is much shorter. But you may want it to sound deader still, especially if it's a big room. Just add some extra tiles where you like and pay attention to the change in sound as you go.
A good approach is to make a grid on the back wall which combines treated and untreated areas. (H.) If you want an area for recording vocals then put some tiles at head height or use some FreeSpace to create a little vocal booth.
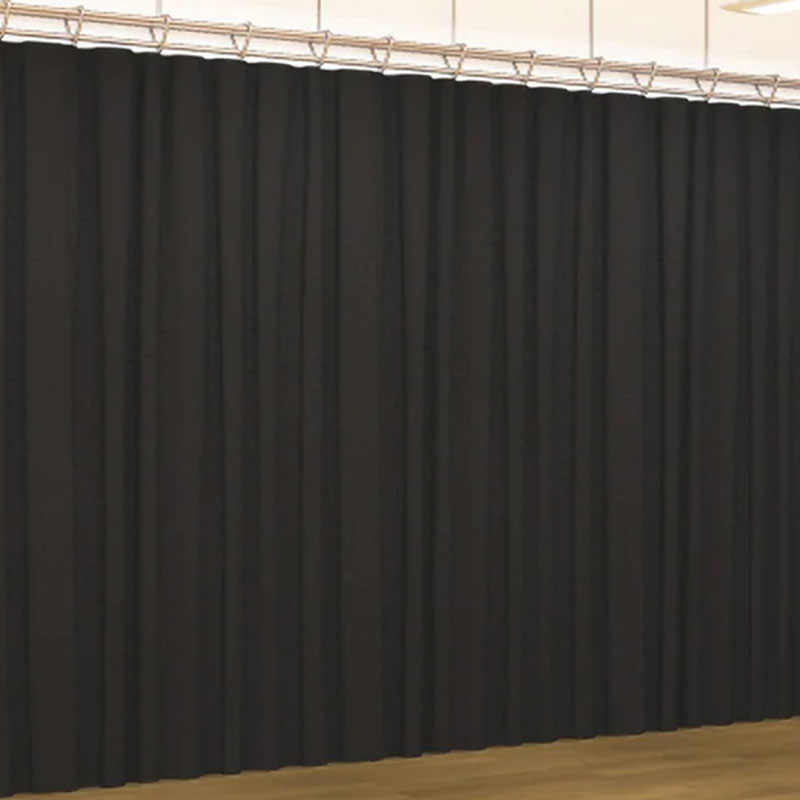
Tip: If you have a window in a first reflection point, get some thick curtains or make some from our kilo wool serge acoustic fabric.

| Floor Area | Acoustic Tiles |
|
SMALL - 6 - 10 SQM |
1.5 - 3 SQM |
|
MEDIUM 11 - 15 SQM |
3 - 5 SQM |
|
LARGE 16 - 20 SQM |
5 - 8 SQM |
STEP 5: How Much Treatment Do I Need?
This depends on the type of room and your personal taste. Larger rooms (especially with high ceilings) require more treatment than small rooms. Rooms with soft furnishings (e.g. carpet, fabric sofas, thick curtains etc.) require less than rooms with lots of hard surfaces.
INSTALLATION
Acoustic Foam tiles and traps can be installed with adhesive or using our handy Flexi-Fit tabs.
Find out more about fitting options here:
SUMMARY
This guide has shown how to properly set up studio monitors and add acoustic foam treatment, transforming a standard room into a proper music production environment.
We now know how to find a room’s first reflection points for acoustic tile placement and where to install bass traps. We’ve established the right quantity of acoustic foam for studios of different sizes giving consideration to the types of surfaces and furniture already in the space.
Now you’re ready to select the right acoustic panels for your studio and start making better mixes.
Don’t forget that we are always here to help – ask a question in our Facebook group and get a friendly and knowledgeable response.